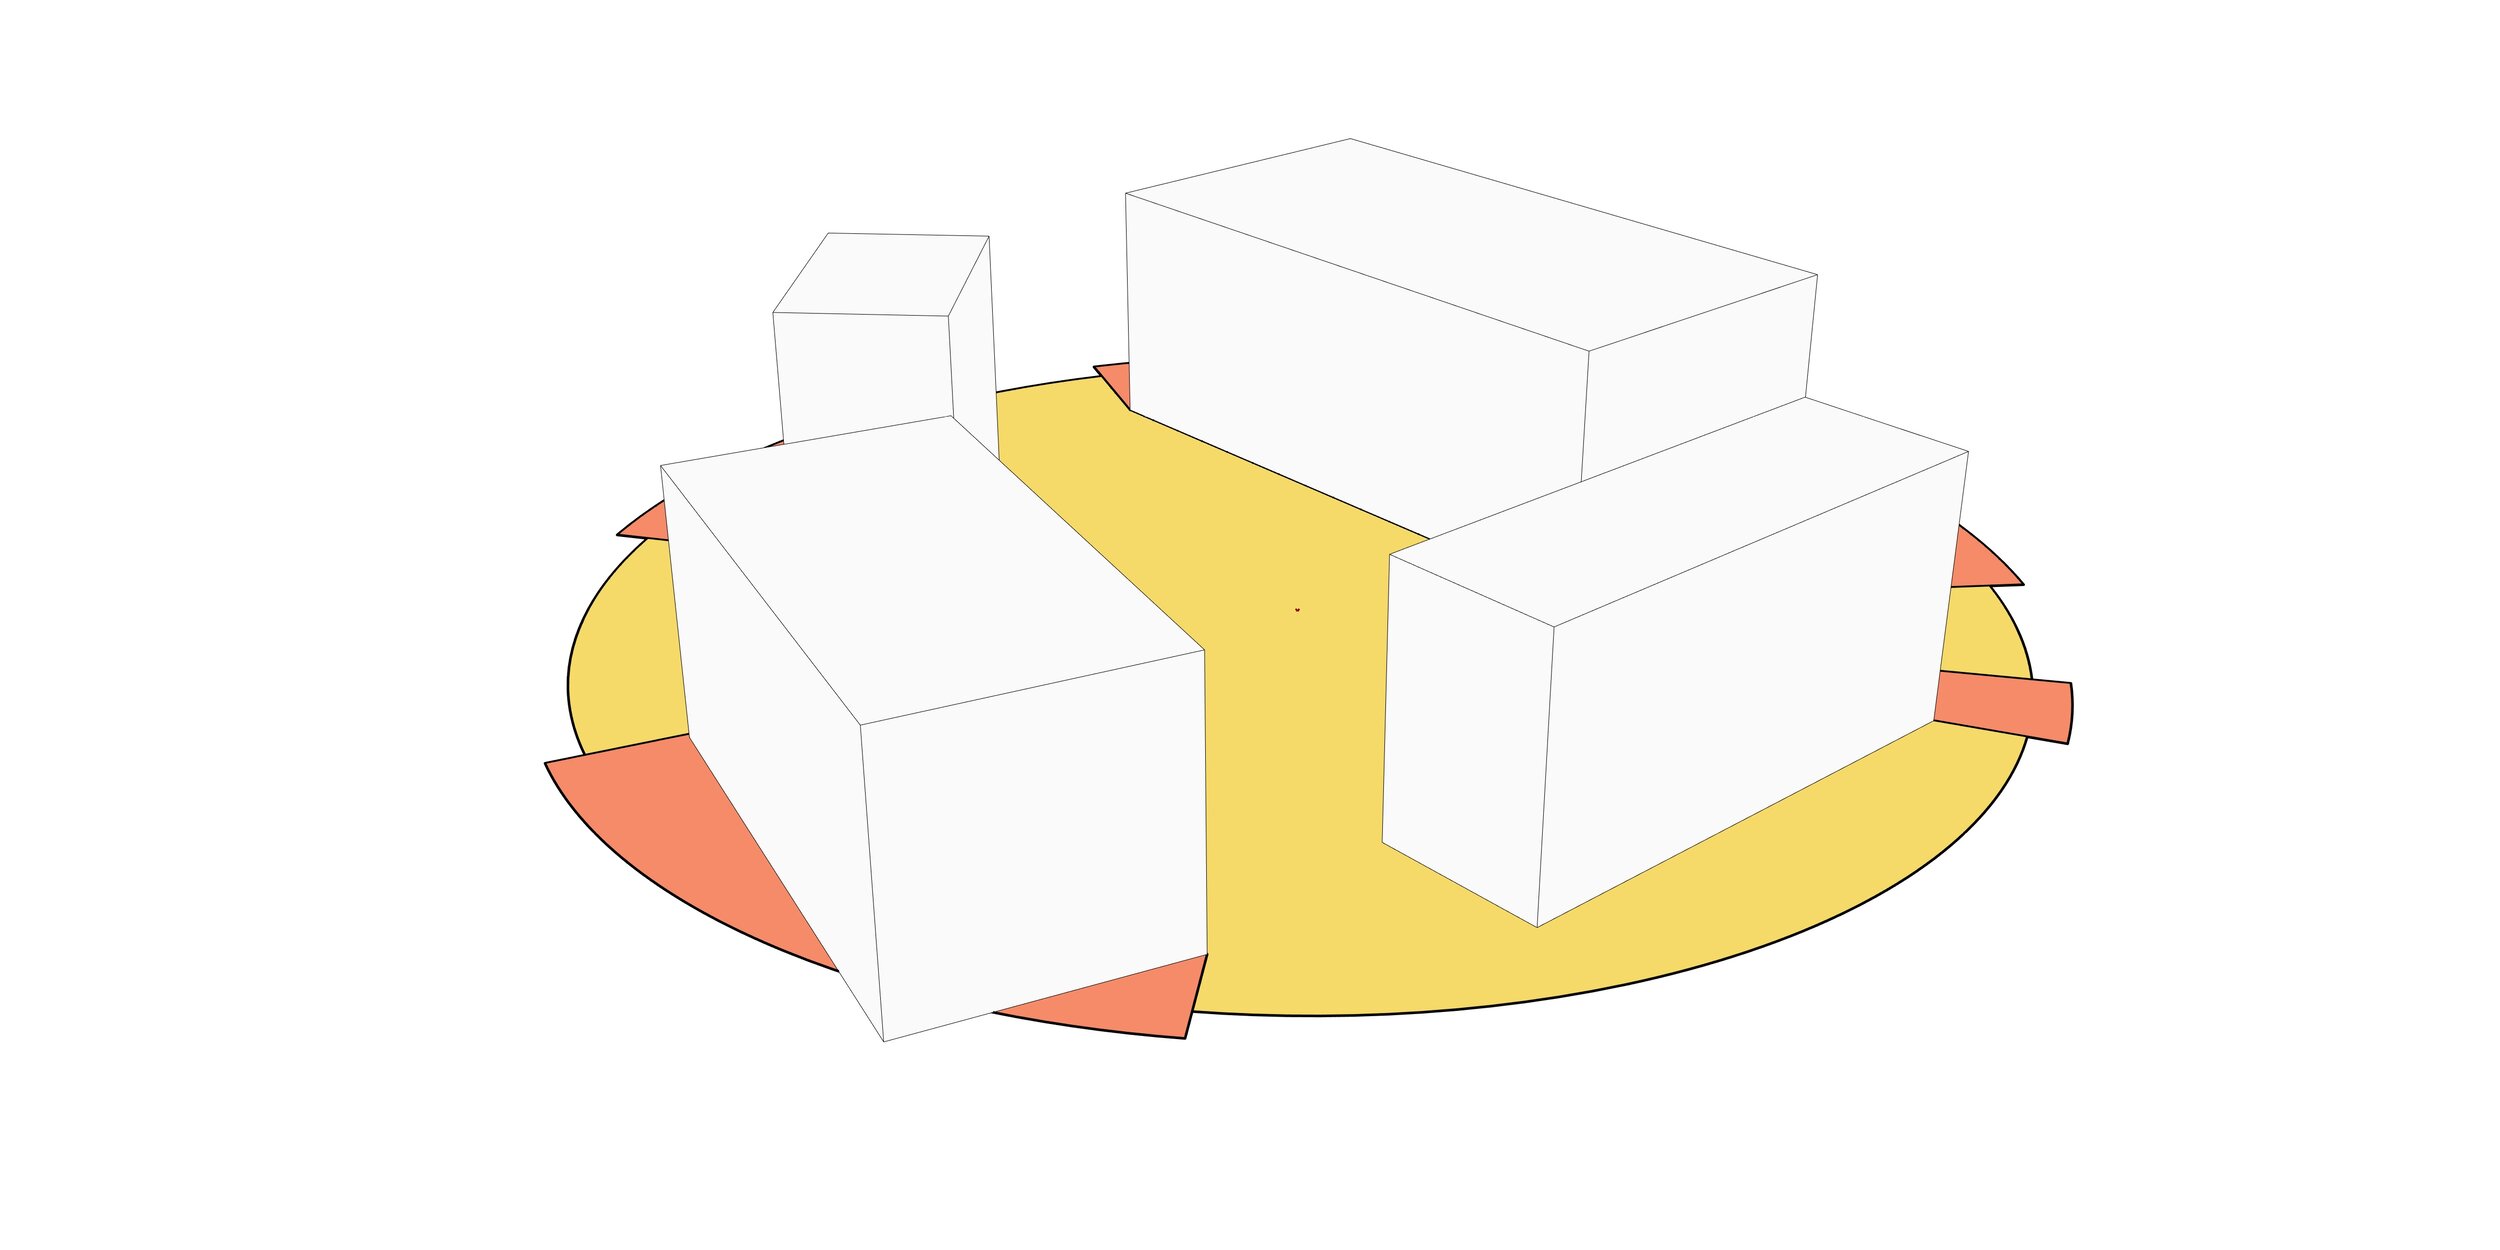
Ladybug View Rose
This post explores the use of Ladybug’s View Rose component.
I’m using Rhino 6 and the model units are in mm. In addition to Ladybug I’ve used the Human plug-in to visualise the results. These GH plug-ins can be obtained from the links below:
Step 00:
Place Ladybug’s Ladybug component before starting the script. If the component is running, it should generate a message similar to this:
Hi smalek! Ladybug is Flying! Vviiiiiiizzz...
Default path is set to: c:\ladybug\
Step 01:
The View Rose component’s first input requires geometries to analyse. If these geometries are not Meshes, the component does the conversion automatically.
The plane input determines the viewer’s location as well as the plane the analysis takes place on. If the input is just a point, the XY plane will be selected by default.
The _radius input sets the extent or distance away from the plane. The larger the number, the longer it will tae for the analysis to happen.
Step 02:
To add colour to the analysis outcome I’ve used the Custom Preview and a Swatch component. The outlines can be controlled visually using Human’s Custom Preview Line Weight component.


